
Weighted Vest: What It Does and How Heavy to Go
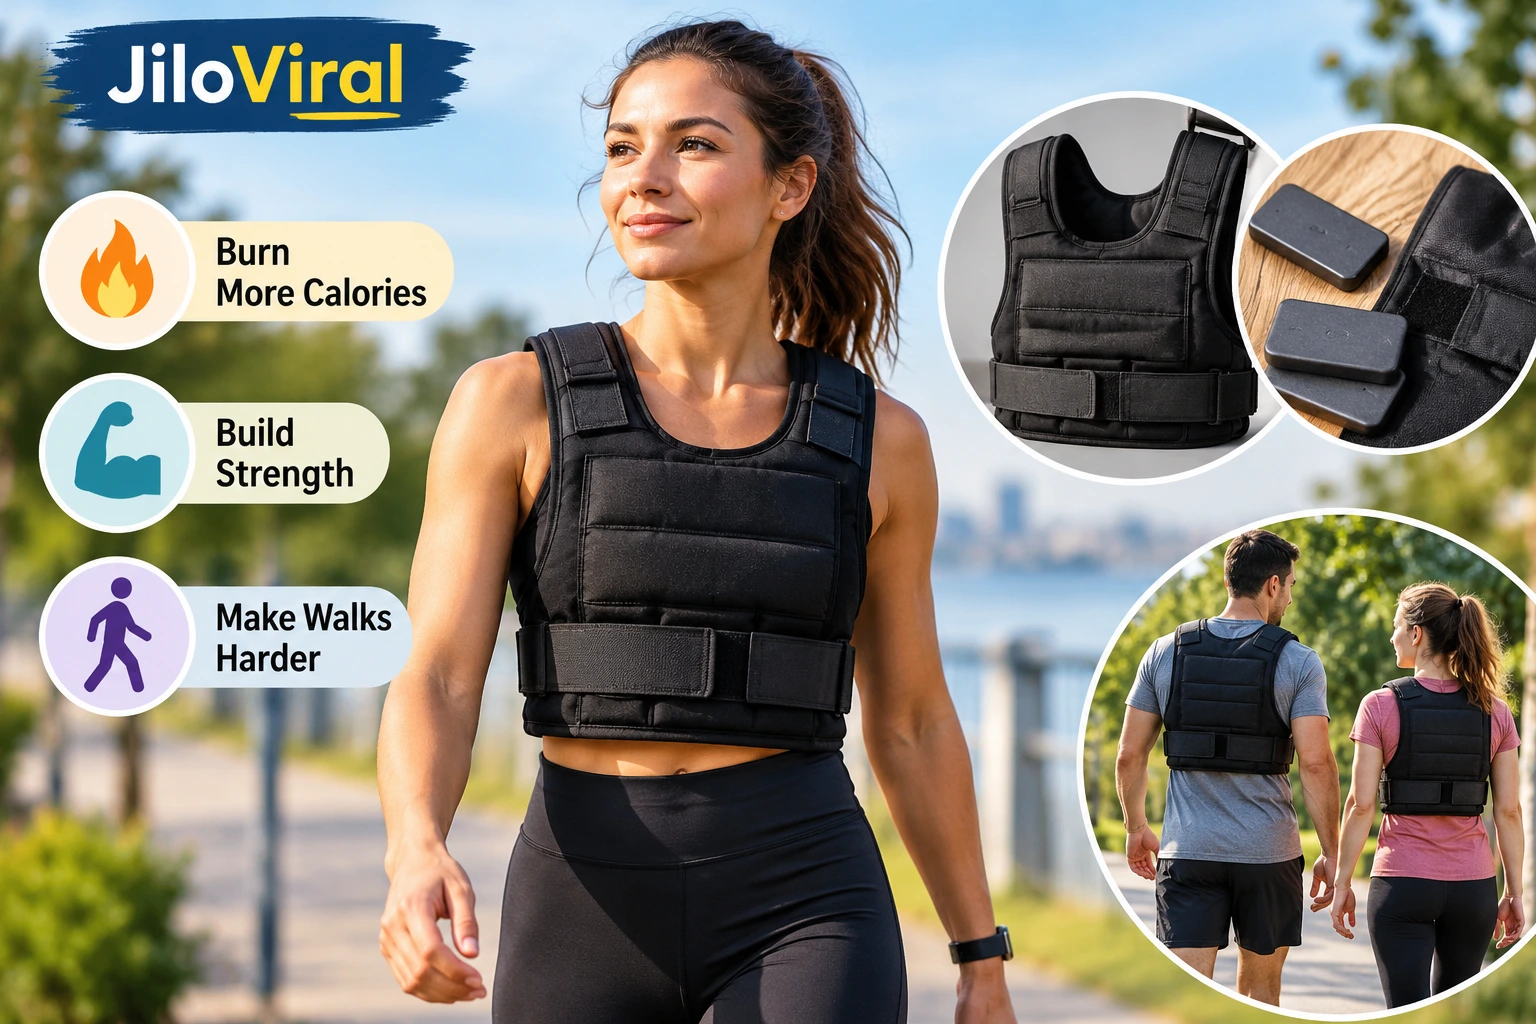
A weighted vest looks simple, but the details matter. Pick the wrong weight and your shoulders ache. Pick the right one and an ordinary walk gets harder in a useful way. This guide explains what the gear does, how heavy it should be, and where claims outrun the research. You will also find notes on popular brands, plates, DIY builds, and kids’ options. Where evidence is thin, we say so. Talk with your doctor first if you have back, neck, bone, or heart concerns.
What Does a Weighted Vest Do for You?
A vest adds load to your torso, so your body works harder at the same pace. UCLA Health sports medicine surgeon Sharon Hame says walking with one can build more strength and endurance than walking alone, and the extra load helps you burn more calories. It also works your leg muscles harder. Think of it as a low-tech way to turn a regular walk into light resistance training, without learning a new exercise or buying a bulky machine. That is the core appeal.
The bone-health claim deserves more caution. A 2025 JAMA Network Open trial of 150 older adults found daily vest use did not protect against hip bone loss during dietary weight loss. One evidence summary points to heavy resistance training and impact work as stronger options for protecting bone. A vest can still support an active routine, but it is not a cure-all. Expect realistic gains: a harder workout, better leg strength, and a modest bump in calorie burn rather than a bone-building shortcut.
Realistic benefits include:
- More calories burned: research commissioned by the American Council on Exercise found untrained women walking on an incline burned roughly 13% more calories with a vest at 10% of body mass
- More lower-body work during everyday walks
- Low impact compared with running or jumping
How Heavy Should My Weighted Vest Be?
Most guidance uses a percentage of body weight. UCLA Health suggests starting near 5%, so a 150-pound person would begin around 7.5 pounds. Other fitness sources describe 5–10% as the general range. One research summary treats 10% as a ceiling to build toward over months, not a starting point. That conservative approach protects your joints while your body adapts. Beginners should start light, even if the first few walks feel almost too easy.
Progress slowly. Add one or two pounds only after several comfortable weeks. A vest should never change how you walk. If your posture tips forward, your stride shortens, or your lower back aches, drop the weight. Heavier is not automatically better, because the extra load raises stress on joints and connective tissue faster than it raises results. Use the table below as a starting point, then adjust to how your body responds over the following day.
| Your body weight | 5% (cautious start) | 10% (long-term ceiling for most) |
| 120 lb | 6 lb | 12 lb |
| 150 lb | 7.5 lb | 15 lb |
| 180 lb | 9 lb | 18 lb |
| 200 lb | 10 lb | 20 lb |
| 220 lb | 11 lb | 22 lb |
Best Weighted Vest for Walking
The best weighted vest for walking is thin, snug, and adjustable. Look for weight spread evenly across the front and back so the load does not pull you forward. UCLA Health advises a fit that keeps weight evenly distributed and prevents the vest from shifting as you move. Removable weights let you start light and add pounds over time. Comfortable shoulder straps matter more than extra features, because you may wear the vest for 30 minutes or longer. Skip anything that bounces, rides up, or rubs.
Weight capacity matters too. A 20 pound weighted vest suits someone around 200 pounds who wants to work at 10% of body weight. For a 130-pound walker, it is closer to 15%, which is too aggressive for a beginner. Fixed-weight vests are simpler but cannot grow with you. Adjustable models cost more upfront and usually save money later. Match the starting weight to your body first, then choose a vest that lets you move up in small steps.
Features worth checking:
- Even front and back weight distribution
- Removable weights in small increments
- Padded, adjustable shoulder straps
- A snug fit when empty and when fully loaded
- Breathable fabric for longer walks
Weighted Vest Plates and DIY Options
Plates are the removable weights that slide into a vest’s pockets. Some vests use small iron or steel blocks, while others use larger plates sized to the vest. Valor Fitness, for example, sells bundles of 14, 20, or 30 pounds, and its vest holds up to four plates. Plates that fit snugly shift less. Check compatibility before buying extras, because sizes and shapes vary by brand. Add weight in matched pairs, front and back, so the load stays balanced and your posture stays upright.
A DIY version can work for light loads, but it carries risks. Sand or rice can leak, shift, or clump unevenly, which changes your gait. Store-bought vests cost more, yet they offer tested straps and consistent weight. If you still want to build one, test it with just a few pounds on a short walk first. Stop using it if it rubs, slides, or leans you forward. Basic steps:
- Start with a snug, sturdy vest or carrier that will not stretch.
- Fill small, sealed bags with equal amounts of weight.
- Place matching bags in front and back pockets.
- Secure everything so nothing moves, then test for ten minutes.
ION, MVRK, Blogilates, and Target Options
Brand matters less than design, but comparing helps. MVRK’s listing shows removable iron weights in sizes from 15 to 100 pounds, and several review roundups name it a top pick for rucking and strength work. Treat those roundups as opinion, since many earn affiliate commissions. Blogilates sells a 15-pound vest through Target. Its listing mentions a back pocket, key ring, reflectors, and adjustable straps, with a price of $46.99 at the time of the listing. Prices and stock change often, so confirm current details.
Details for the ION weighted vest were not confirmed here, so check its listing for weight range, adjustability, and return policy. A fixed 15-pound vest suits a 150-pound person at 10% but may feel heavy to a lighter beginner. Adjustable options like MVRK suit people planning months of progressive training. Whatever you choose, read reviews for repeat complaints about shifting, chafing, or loose straps, because those problems show up quickly once you start walking.
| Feature | MVRK | Blogilates (Target) | ION |
| Weight options | 15–100 lb listed | 15 lb listing | Not confirmed |
| Removable weights | Yes, iron weights listed | Not stated in listing | Not confirmed |
| Extras | Marketed as no-bounce | Back pocket, key ring, reflectors | Not confirmed |
| Likely fit | Progressive training | Simple walks, entry level | Check listing |
Kids Weighted Vest: What Parents Should Know
Parents often search for a kids weighted vest to help with focus or sensory needs. The evidence is weak. One occupational therapy review reports insufficient evidence for weighted vests for children with sensory processing challenges, though the existing research did not report adverse effects. Oxford Health’s children’s occupational therapy service does not endorse these products. That does not mean no child benefits. It means a vest should be a supervised trial, not a first-line fix.
One NHS guideline says weighted equipment should be used only after an occupational therapist’s assessment, and notes manufacturers suggest 5 to 10% of a child’s body weight. A handout citing occupational therapy materials suggests using the least weight needed, in sessions of roughly 30 to 60 minutes with at least an hour off in between. A 50-pound child at 5–10% would use about 2.5 to 5 pounds. Always supervise, stop if the child seems uncomfortable, and never use a vest as a restraint.
Weighted Vest Safety Checklist
Start with your health. UCLA Health cautions that anyone with a back or neck injury should be very careful with a vest. People with heart conditions, osteoporosis, balance problems, or pregnancy should ask a clinician first. Your early sessions should feel easy. Wear the vest for 10 to 20 minutes on flat ground, then notice how your back, hips, and knees feel over the next day. Soreness that lingers or sharp pain means the load is too heavy.
Progress in small steps. Increase time before weight, and add weight before speed. Pair walking with real strength training, since a vest does not replace it. Replace worn straps or leaking weight pouches right away, and skip the vest when you are sick, injured, or exhausted. Run through this checklist before each session:
- The vest fits snug and does not bounce
- Weight is split evenly front and back
- The load stays within 5–10% of your body weight
- Your posture stays upright
- You feel no sharp pain in your back, hips, or knees
Conclusion
A weighted vest is a simple tool that makes walking and bodyweight workouts a little harder. Start near 5% of your body weight, build slowly, and choose a snug, adjustable design with even weight distribution. Expect modest gains, not miracles, and lean on strength training for bone health. Compare brands like MVRK, Blogilates, and ION by their actual specs, and treat any kids weighted vest as a supervised trial with an occupational therapist’s guidance.